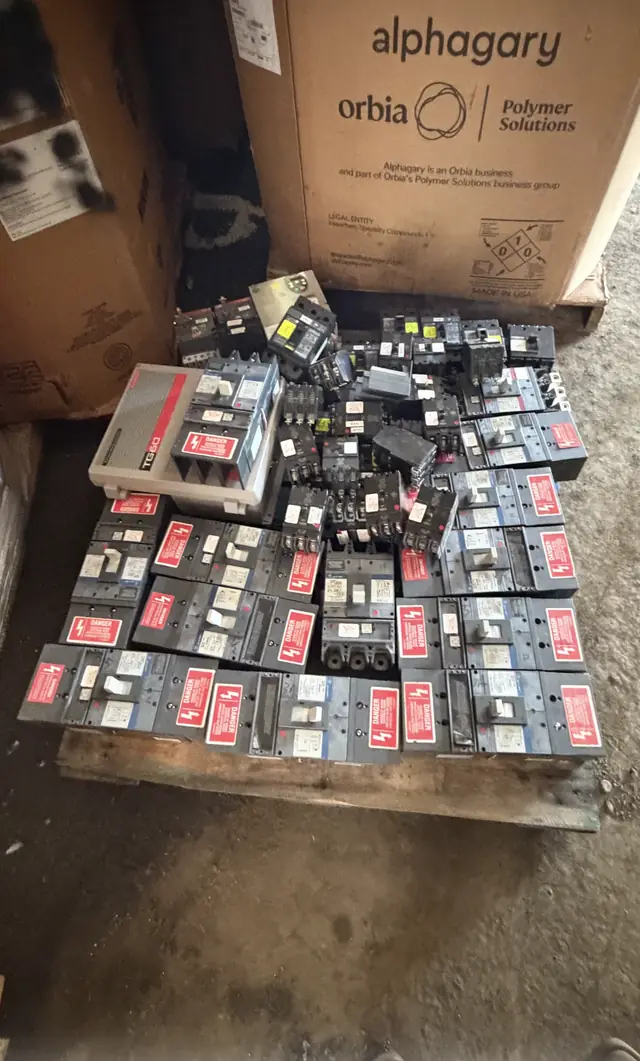
If a label is missing, illegible, damaged, or indicates prior modification, stop and avoid energizing or installing the device. Follow the current manufacturer instructions and use appropriately qualified electrical professionals and the authority having jurisdiction. A website submission is not a safety inspection, appraisal, purchase order, or shipping authorization.
We review qualifying items for purchase — start with the label
CircuitBreakerBuyer.com reviews qualifying used, surplus, and obsolete circuit breakers and related equipment for potential purchase. The label or nameplate on a breaker is the single most useful piece of information you can provide without opening the device or performing live testing.
This page explains which label fields buyers rely on, how to photograph and document them, and what to include in a submission packet. A clear label package makes it faster for a buyer to determine commercial fit; it does not, by itself, guarantee compatibility, authenticity, condition, or value.
- A clear label speeds review but is not a purchase or safety certification.
- We request specific photos and data to evaluate items remotely.
- Follow manufacturer instructions and use qualified professionals for any hands-on work.
Label fields that identify a breaker: manufacturer, catalog, and series
Start by locating the manufacturer name and the catalog or model number. Many buyers use the catalog number to match parts lists, replacement guides, and market demand. When the label includes a series or family name and a serial number, that helps narrow production runs and date ranges.
Labels often also include revision, lot, or internal code fields. Record them exactly as printed; small differences in punctuation or suffix letters can indicate different trip mechanisms, accessories, or frame sizes that affect whether a breaker is a commercial fit for a given application.
- Manufacturer name (exact spelling as printed)
- Catalog or model number (copy letters, numbers, and hyphens)
- Series/family and serial number or date code
- Revision, suffix, or accessory codes
Reading amps, poles, volts, and frame designations
Amperage (amps) is usually printed prominently and can be expressed as a single value (for example, 60 A) or as a range related to an adjustable trip. Poles indicate how many current-carrying positions the breaker occupies (single-pole, two-pole, three-pole, and so on). Voltage markings show rated system voltages and may list multiple nominal voltages (for example, 120/240 V).
Frame and trip-class markings define the physical and electrical envelope of a breaker. Two breakers with the same ampere trip might have different frame sizes or trip characteristics; capture the frame designation and any trip type or curve language shown on the nameplate.
- Poles: 1P, 2P, 3P, etc., as printed
- Amp rating: fixed or adjustable values (copy exactly)
- Voltage: nominal system voltage(s) and frequency if listed
- Frame and trip-type designators (frame size, thermal/magnetic, trip curve)
Interrupting rating (AIC) and short-circuit numbers — what the label tells you
The interrupting rating, often expressed as amperes at a specific voltage (for example, 10kA @ 240 V), indicates the maximum fault current the breaker was intended to interrupt under test conditions. This number is a label statement from the manufacturer and is a key field buyers use to screen for potential reuse in similar voltage and fault environments.
Do not treat a printed interrupting rating as a compatibility promise. Labels do not report installation history, damage, or modification. If the label is missing, damaged, or altered, the interrupting rating cannot reliably be used to establish suitability; in such cases a qualified electrical professional and the authority having jurisdiction should be engaged.
- AIC typically shown as a number plus voltage (e.g., 10kA @ 480 V). Copy it exactly.
- Some labels list multiple interrupting ratings for different voltages.
- A label statement alone does not confirm the device’s current field condition or suitability.
Condition language, date codes, and how to photograph labels
Use honest, plain-language condition descriptors when you document breakers: examples include "label intact, minor surface corrosion on cover," or "label faded, unit not tested." Avoid ambiguous or evaluative claims about safety or suitability. If you can read a date code or serial number, record it; if the label is obscured, photograph the obstruction instead of guessing.
Where available, manufacturer documentation and clear label photographs can illustrate common fields. Original macro label photos from your equipment help speed review; use the checklist on this page to record printed fields and note missing or altered markings.
- Photo tips: use natural light, steady the camera, and capture a close-up that fills the frame with the label.
- Include an overall unit photo showing mounting and accessory parts.
- Note any physical damage, paint overspray, or modifications in plain language.
How to organize lots and what to include for a purchase review
Group items by exact catalog/model number and by visual label match. A lot composed of identical-label items with consistent condition descriptions is easier and faster to review. If you have mixed quantities of similar models, separate them into distinct lots and provide counts for each group.
When you submit for purchase review include the high-resolution label photo, one overall unit photo, the listed fields from the annotated example, and a brief note about how units were removed and stored. A clear submission packet reduces follow-up questions; it does not constitute an appraisal, offer, or acceptance and does not authorize pickup or shipping.
- Checklist for each lot: macro label photo, unit overview photo, quantity, and listed fields.
- Label your photos with the catalog number and lot count.
- State any known missing accessories or external modifications.
Commercial fit, safety limits, and the next step
Buyers evaluate commercial fit based on label data, apparent condition, quantities, and market demand for a specific model. Obsolete or hard-to-find catalog numbers may attract interest, but decisions depend on the exact label fields and supporting photos. If a label indicates the manufacturer, series, and interrupting rating that align with typical demand, that can improve the likelihood of a favorable review; still, each submission is considered on its own merits.
To begin a purchase review, complete the checklist and upload your photos using our submission form. We may request additional photos, serial numbers, or accessory details. Remember: a submission is not a purchase order, appraisal, or safety inspection. For any removal, testing, or installation activity stop if you encounter damaged or suspect components, follow the current manufacturer instructions, and use appropriately qualified electrical professionals and the authority having jurisdiction.
- Expect remote review and possible follow-up requests for additional photos.
- A complete label package improves speed but does not guarantee purchase.
- If labels are missing or altered, note that clearly; such items often require more documentation.